Cherry Bowl

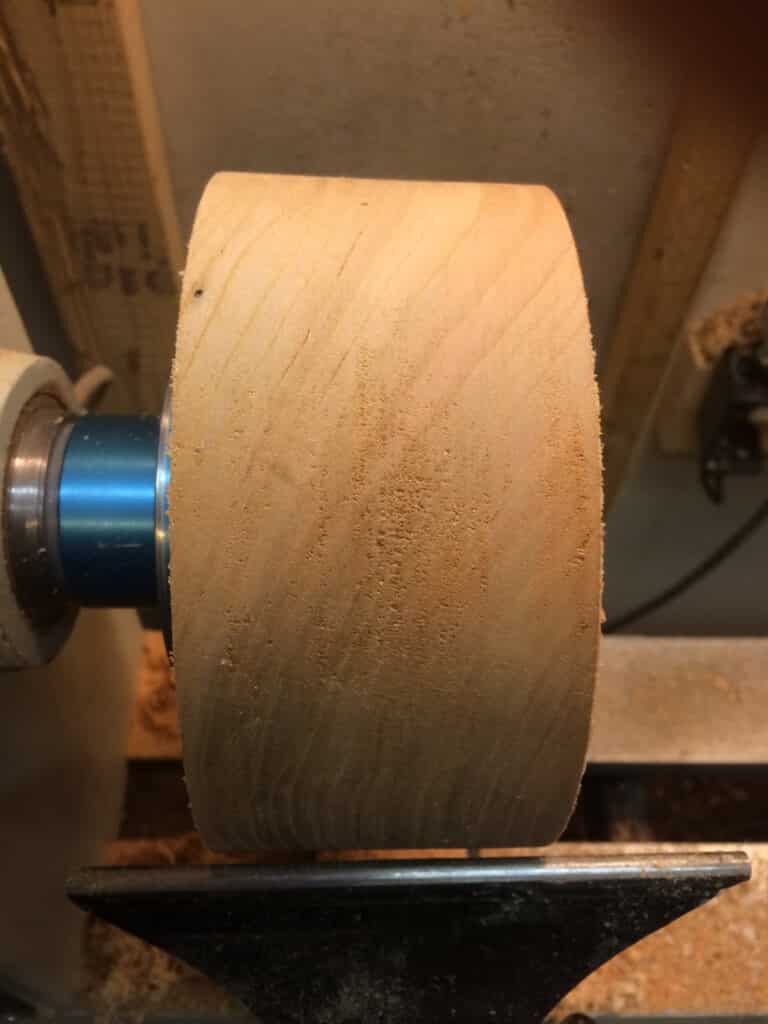
Starting Blank
Today I worked on making a nice little bowl from some cherry wood from South Carolina. It is nice to be able to work with a variety of local woods, similar in ethos to eating local produce, and fortunately for me, living in the eastern part of the United States opens up lots of options for nice woods that are quite local or regional in origin. Granted, I am from California and still have family there, so when they give me wood that is western United States in origin, I can still consider it local, so I win the best of both worlds! This particular bowl demonstrated two essential aspects of wood turning: wet wood shrinkage and end grain tear out.
Green Wood to Dry Wood
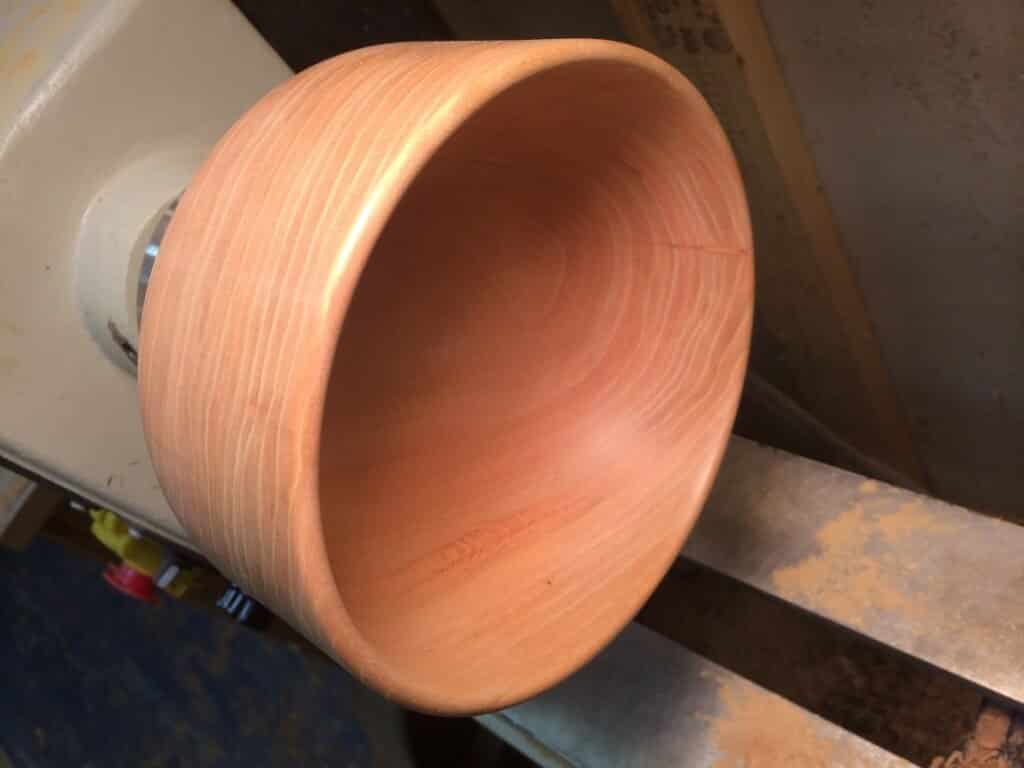
Turned But Not Finished
Every piece of wood you will ever work with was at some point sopping wet, guaranteed. I have never turned wood that was, quite literally, just cut down from living moments before turning it, but I have seen it done. The moisture sprays out, drenching the turner. Some wood turners greatly prefer and enjoy working with green wood since it is reported to cut much easier with larger shavings and no dust. Live and freshly cut trees have a very high percentage of water, some species reportedly up to 70%, and once the tree is cut down the process of losing that water will commence. Green wood turning fans use a number of methods to control and slow the water loss over time to help prevent common problems including cracks, called checks in the hobby, as well as warping, or the reshaping of the wood due to the uneven loss of water through different aspects of the grain.
Some turners are fans of cutting the piece to no less than 10% of the diameter of the starting blank, such that a 10” starting blank would have walls no thinner than 1” before drying. At that point, some wood turners store the rough turned item in paper, sometimes with wood shavings, to help slow the water loss, others may use special chemicals which are painted onto the wood, or into which the rough turned bowl is soaked, some even have homemade kilns for controlled drying, and I have even heard of some who use the microwave to quick dry rough turned items. Still others just set the bowl aside in the ambient air and let nature take its course. These turners find beauty in the way in which the bowl will warp and potentially achieve rather fantastic shapes that couldn’t easily be created any other way. I have only once ever turned wood that wasn’t fairly dry and the one thing I learned from that experience is never attempt to sand damp wood; it won’t work, period, and you will only frustrate yourself. Someday I will experiment with wet turning again, but it will have to be with a piece of wood I am willing to sacrifice as a first time try, and I tend to be pretty conservative with my wood, so it may be a while before I try.
Other wood turners, and I count myself among them, only turn fairly dry, or seasoned, wood. This wood will retain its shape once turned and can be immediately sanded and finished without having to wait an unknown amount of time, and then deal with an unpredictable amount of warp and shrinkage to complete the process. However, most of the wood that is sold, especially exotic species, is almost always cut wet, heavily waxed or otherwise coated to slow, if not prevent, water loss. The wood turner can then either cut it wet or let it dry slowly, sometimes over the course of years depending on the thickness of the blank and the species of wood in question. This method requires a great deal of patience since that really nice piece of cocobolo that you just laid out a great deal of money for won’t be ready for you to use for, potentially, years. However, I go for this patient approach and wait it out.
One problem you confront when waiting for wet woods to dry is how to know if it is dry enough to turn without warping and shrinking. One method is to use a moisture meter which uses electrical resistance to determine a percentage of moisture remaining in the wood. Anything at or below 12% would be considered quite dry. However, the meter can only measure what it can reach and most meters only penetrate the surface layer a few millimeters which doesn’t tell you anything about the interior of a 4” thick blank. These meters are probably of most use with plank lumber although I use one anyway because if the reading is high even on the outer layers then I know the interior is much too wet for me to use. Another method that works quite well for larger blanks is simply to weigh them, write the weight and date weighed on the surface of the blank (you will cut this part off anyway when turning it), set it aside for a month or so, and repeat the process. Since water is quite heavy, about 8 pounds per gallon, as the water escapes the blank it will lose weight. When the blank stops losing weight, or even gains a slight amount of weight, then it is ready to use. Of course this requires at least two separate measurements taken a sufficient amount of time apart to be effective, so it isn’t fast. If you are wondering how a blank could gain weight, this happens when the wood is relatively dry and can then absorb moisture from the surrounding air, much more likely in humid climates once the percentage of moisture in the wood is lower than the average humidity in the area in which the wood is stored. Wood that is being stored green should be stored in such a way that air can circulate around all sides. Racks help with this as does stacking wood with spacer sticks in between. Inadequate air circulation can result in mold damage, discoloration, and even outright rot! Sometimes however, the resulting discoloration, and even some degree of mold and rot, can make for some very interesting blanks, if you like that sort of thing.
The Effect of Drying on Cherry
This Shows End Grain Tear Out
Anyway, this piece of cherry was measured and sold as an 8” x 3” round blank and it probably was when I bought it several years ago. It was well waxed and I set it aside to dry over time. It was immediately obvious to me that the blank had warped rather considerably over time. It was clearly no longer round, instead being rather ovoid in shape, and the formerly planed flat surfaces had bulged slightly, meaning it wouldn’t lay flat on a table, instead it would wobble a bit. Due to water loss along the horizontal plane of the grain, the blank had deformed, “flattening” as the sides contracted due to uneven water loss and resulting pressure as the fibers contracted. What once was round, not so much! In hindsight I should have cut it back to round on the bandsaw as it was a bit of a nightmare to round it down on the lathe. I took a beating! Once rounded again, it had shrunk from 8” round down to 6.75” round useable wood, quite a considerable loss. But this is the way of drying wood. The extent of shrinkage and dimensional change varies considerably among different species, and there are tables and publications available if the details of these changes are important to you. For example, the Wood Database has extensive information on many different kinds of common as well as very rare woods.
End Grain Tear Out
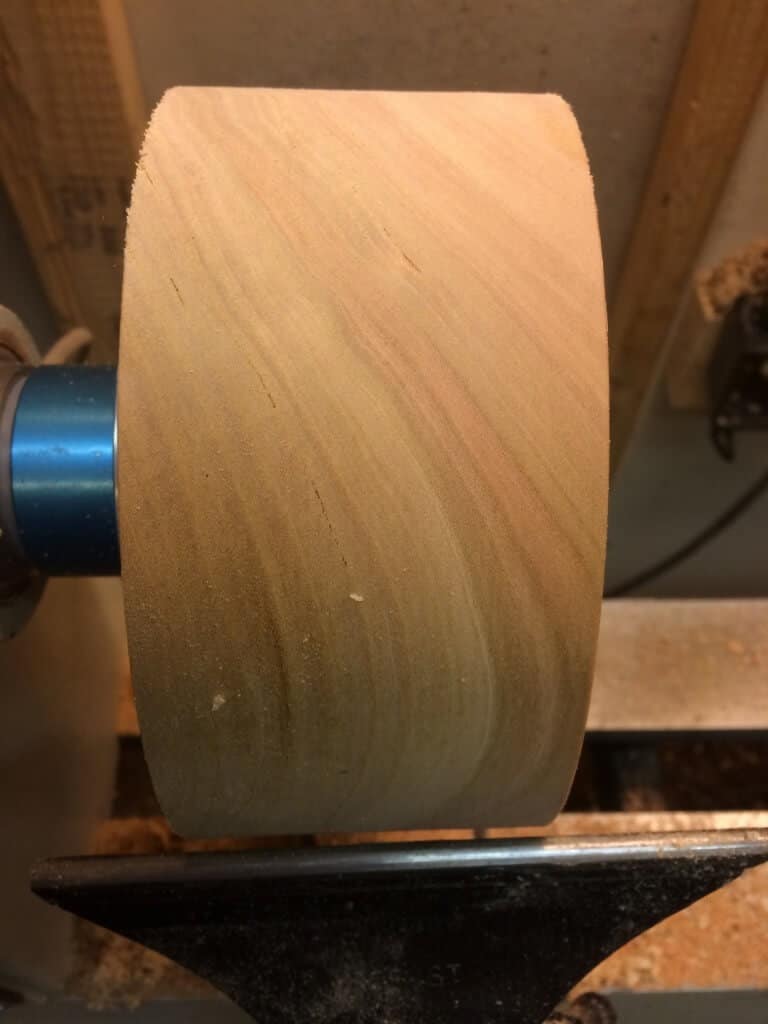
Area With No End Grain Tear Out
Often in walnut I have a great deal of trouble with end grain tear out and have to sand it away. Cherry is even worse in that respect. I was able to remove a good deal of the worst of it by making very light cuts, which result in very fine shavings, but there is still always a good amount of sanding involved. I read in forums on-line from wood turners who swear that they are so wonderful that they never have end grain tear out and others who say that is bull. I tend to agree with those who think that everyone has some trouble with it even if they deny it. Different woods have differing degrees of the problem, but sharp tools and light passes do help considerably. Some claim that grain orientation also makes a difference, but in a round object it is unavoidable that you will always have two areas that are against the grain when it spins on the lathe. Reducing the problem is possible, but completely avoiding it? That I don’t believe is possible, not matter what some on-line cowboys might say. I want to invite them over, give them a piece of walnut or cherry, and see them prove it!
The End Results Are What Counts
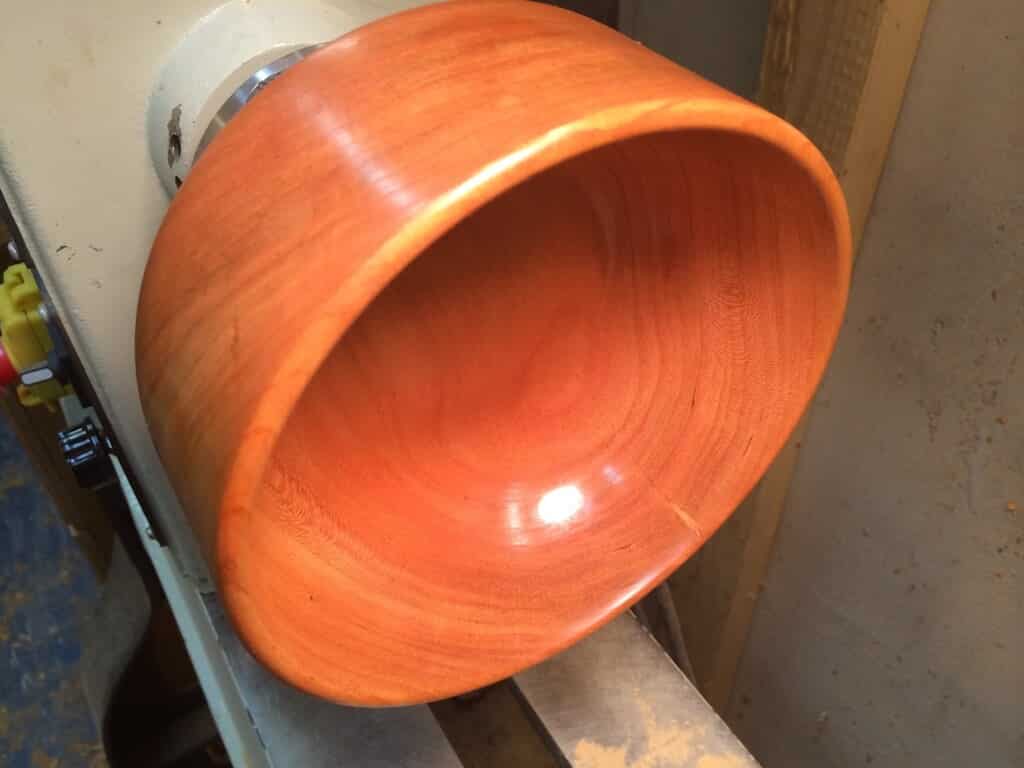
Finished Bowl Ready for Reverse Chucking
Once the end grain tear out was solved with diligent sanding, I was able to finish the piece with a nice coating of Watco Danish Oil in cherry color. This soaks in nicely, to protect the wood from within over time, and the color adds a nice accent without obliterating the excellent grain and figure that this piece turned out to have. Overall, I am quite pleased with the outcome and now know to measure dried round blanks to determine the degree of warp and distortion before mounting and turning. Cutting back to round might well be the best possible solution. I shall see the next time I try one of these round domestic blanks.