Getting Started
I first learned to turn wood using dry and seasoned wood that was not going to change shape or crack once it was finished. Of course I first learned to turn wood by making wood pens, and you could never use green wood for that purpose without certain disaster and heartbreak. So, I was quite accustomed to working with completely dry and seasoned material.
When I started to expand into bowl turning, I soon learned that most commercially marketed bowl blanks are sold in some stage of the drying process ranging from very wet to almost dry to completely dry, but most of them will have some significant degree of moisture left in them. Knowing this, I usually store my bowl blanks, sometimes for years, with the date of acquisition written on them (a practice not employed early on, but I know blanks with no date are at least several years old and therefore more likely to be dry). Then I wait patiently, again, sometimes for years, for the blanks, most of which are at least partially waxed to at least slow the drying process and prevent cracks, known as checks in the hobby, from forming, to dry completely before attempting to turn them. I have followed this practice for years and only once was I surprised to discover a blank that wasn’t completely dry in the center. This accounted for why I could never get the end grain to sand out and why the bowl changed shape on me when left on the lathe for a few days as I let my frustration with the unknown problem lessen before coming back to it. Once I realized that the wood had been wet, it all made much more sense. Rainbow Poplar is not any harder to turn than any other wood, but it will behave differently, as any wood will, when wet.
Green Turning Concept
I have long known that many wood turners prefer to turn their bowl blanks while they are still green and then re-work the pieces later to correct for the inevitable warping that will occur as the wood dries. Various methods can be employed to slow the drying and reduce warping and checking including chemical treatments, waxes, and drying in bags with or without wood shavings. Some wood turners just turn the bowl to final size and let it warp and call it “art.” Maybe it is. There are many schools of thought about how best to turn and season green wood but I have found that there are many schools of thought about literally everything related to the hobby of wood turning. Everyone has an opinion and most everyone thinks their way is the only way. And for each person, I guess it is. A very well informed and experienced opinion is offered by Dale Nish through this resource. I keep the advice posted on my shop wall and ignore it routinely, probably to my own peril.
Experience with Drying Green Blanks
I have had lots of green blanks and some of them have dried quite nicely while others, especially Red Gum warped all to hell while it was still a blank and presented quite a challenge and a great deal of material loss to get it back into a useable shape. However, this would have been true of the Red Gum had I turned it green and I would have had to try to re-mount and shape a very out of round and difficult to mount piece. And it has been exactly that fear of how to re-mount, safely, a green turned blank that has since warped that has kept me from attempting green turning, until now.
Cucumbertree Wood
I picked up some small pieces, 4”x2”, of a local wood known as Cucumbertree, due to the long and green unripe fruit produced that resemble cucumbers. Unlike true cucumbers, these will turn red when ripe and they are not eaten by people. The wood is actually a species of Magnolia, about which I will write in greater detail in a future posting. It looks, smells, and works very much like other Magnolia wood, being quite soft (700 on the Janka scale), pale yellowish heartwood sometimes with gray streaking or lines, and prone to spalting easily. Most commonly in its native area of the Southeastern United States, it is used as a utility wood, often mixed with and sold as Poplar.
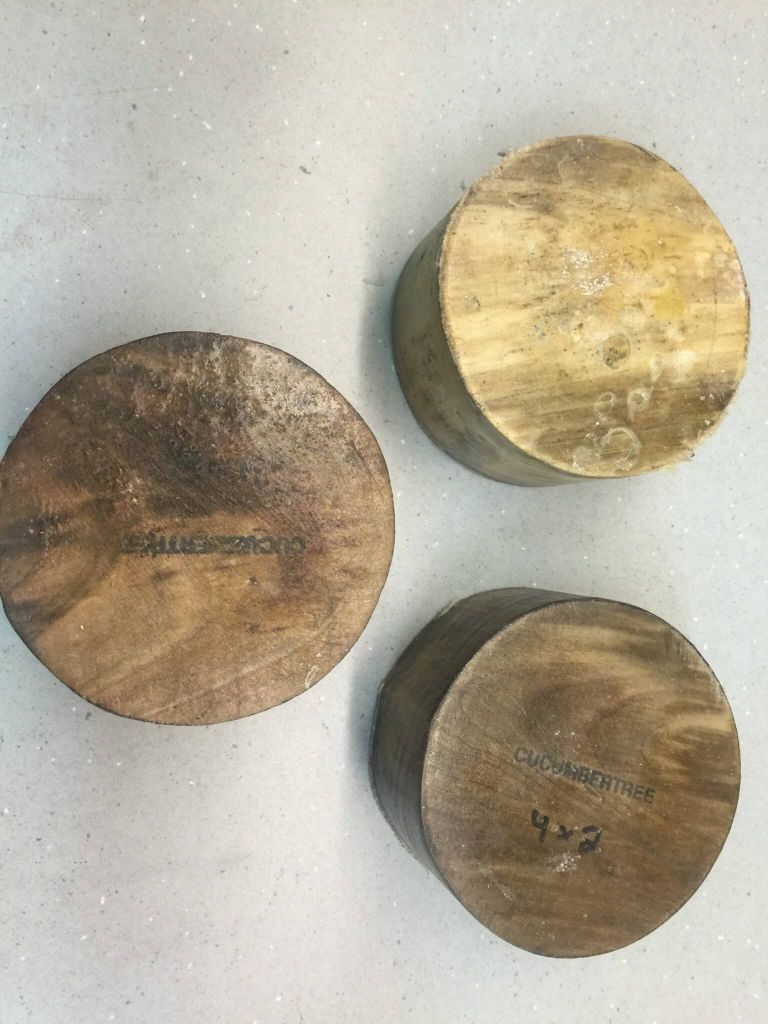
Cucumbertree Blanks
In the photo of the blanks, they look quite dark when not turned. This coloration is due to the wax protective coating and also due to what I would guess is some degree of spalting, or rot that is taking place on the surface of the wet wood. It is easily and quickly removed in the very early stages of turning and does not penetrate into the interior of the blanks at all, which as will be seen, are quite pale yellow albeit with characteristic gray streaks in areas.
I had four of these small pieces, each obtained on clearance for $1.50 each, so I had little invested and the small size also made the experiment seem a reasonable risk. I mean, I wasn’t going to try this with some high-end tropical hardwood blank that I paid $60 for! I picked one piece at random, mounted it on a face plate, cut it to round and then cut the divot in the bottom for the chuck mounting that would come later. I took the piece off the face plate with the sides and bottom cut essentially the way I wanted them. I then mounted the piece on the Nova chuck, 35mm size, and cut out the center of the blank. I had read that the walls and base on a green turning should never been cut thinner than 10% of the original blank size or no more than .75” if the blank was smaller than 10”, which clearly these were.
My Green Turning Process
As predicted, the green wood turned really easily, coming off in long strips instead of the dry and dusty material that comes, not surprisingly, from dried wood. The risk in this ease is that it is quite easy to cut a great deal further than you think and then by the time you pull out the calipers, especially on a piece this small to begin with, you might have a lot less material than you think. I cut my walls to about .50” and left the bottom, in part due to the divot, a bit thicker at about .75” but I won’t pretend I was scientific or consistent about it.
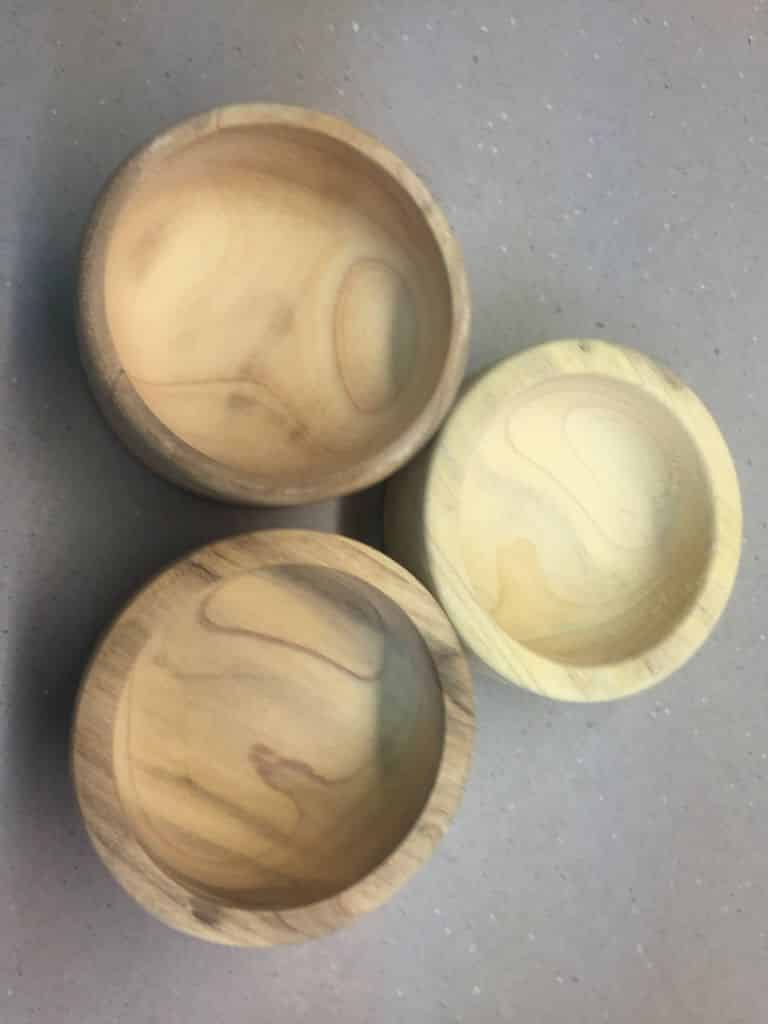
Cucumbertree Green Turned Blanks
Once the blanks were roughed out, as it is called, I put them in a paper bag covered with wood shavings that had accumulated under the lathe. This method is the one most recommended to me and I had been saving up paper bags for years in anticipation of the day that I would finally brave the green turning process. Let’s just say that I have more bags that I will ever conceivably need. I am not exactly sure what this method is supposed to accomplish, or what the paper bag or the shavings have to do with it. I suppose that it is intended to somehow slow the drying process to reduce cracking but I am not sure how exactly it does that. But it was the advice of experts, who didn’t explain the rationale, so I just decided to do it and hope, not too concerned since the wood was cheap anyway.
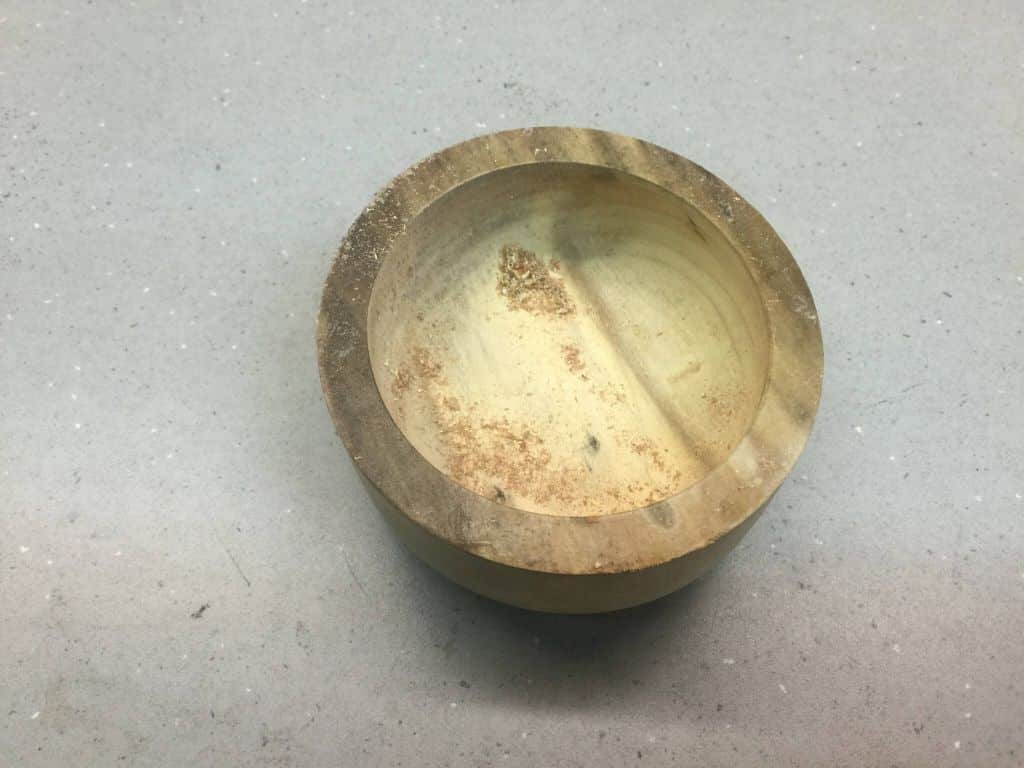
Cucumbertree Green Turned Blank Dried Interior
After the Drying
I was due to go on a 10 day trip a few days after I rough turned the blank so I couldn’t peak in on it during its time drying. Then I arrived home quite ill, ended up in the hospital for three days, and then spent some time at home nursing my wounds and not feeling much interest in the lathe or my drying green blank. I did peak at it a couple of times and there were no cracks and I couldn’t tell for sure if it had even warped or moved during the drying process.
There are more variables to the drying process for green wood than there are certainties but there are some measurements and predictions that can be made from those measurements that are available to the wood turner willing to seek them out. Most every one of the dozens and dozens of wood species both common and exotic listed in the Wood Database have measured and recorded “shrinkage” data for radial, tangential and volumetric, as well as the calculated tangential to radial ratio. These data are given in percentages and the higher the percentage the more movement you can expect in the given direction in any given species of wood. This might not mean much for any one given species, much as a Janka hardness score doesn’t mean much until you can compare it to something you are familiar with and therefore gain perspective. With time and frequent consultation and experience, these data will help give you a sense of what to expect, provided you know the species you are working with.
Cucumbertree Blank Green Turned Dried Exterior
Once I was able to really look at my Cucumbertree blank I realized that it had moved some, not a huge amount but then the blank was small to begin with. The movement is best described as though it was pulled out from the center from the end-grain portions, therefore flattening on two sides while elongating on the other two, resulting in more of an oval shape as opposed to round it had been. I observed exactly this same movement orientation in the Redgum blank that changed shape so dramatically. I am just guessing, but I would imagine that the water content moves faster out of the wood through the end-grain areas, thus as they dry faster they pull outward on the blank crushing the center into the oval. This would account for why some blanks, and rough turned bowls, are only treated on the end-grain sections, although some just coat the entire piece, and as noted, some do nothing. A more scientific explanation of this process is found here.
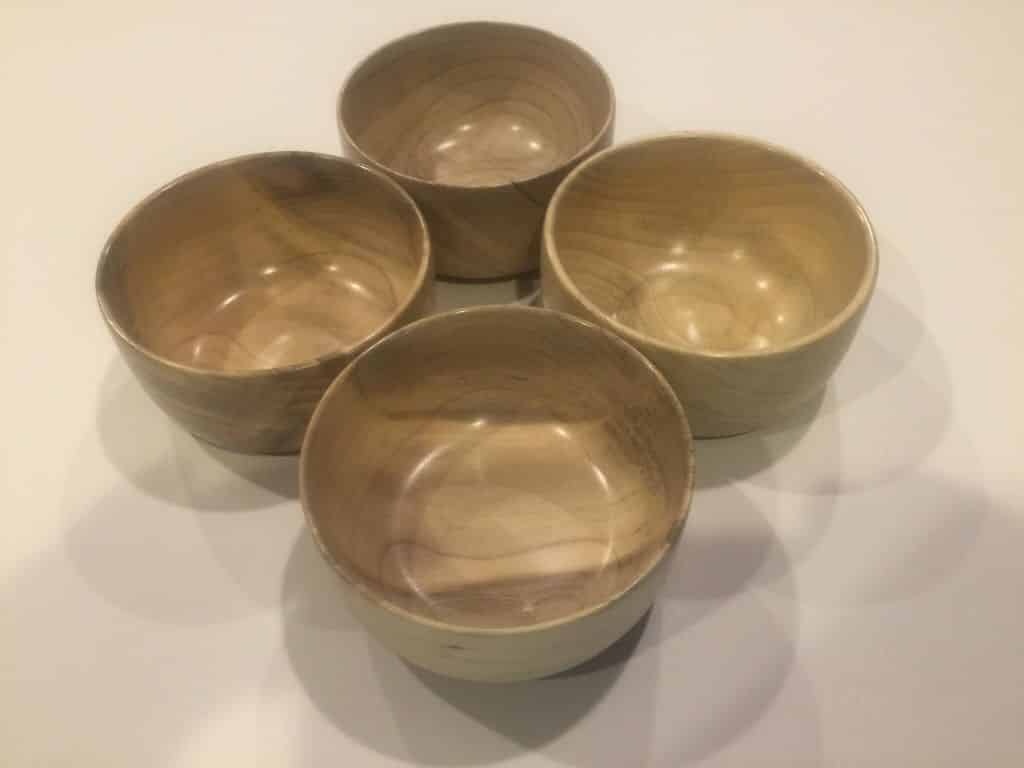
Four Cucumbertree Bowls Finished
Finishing the Piece
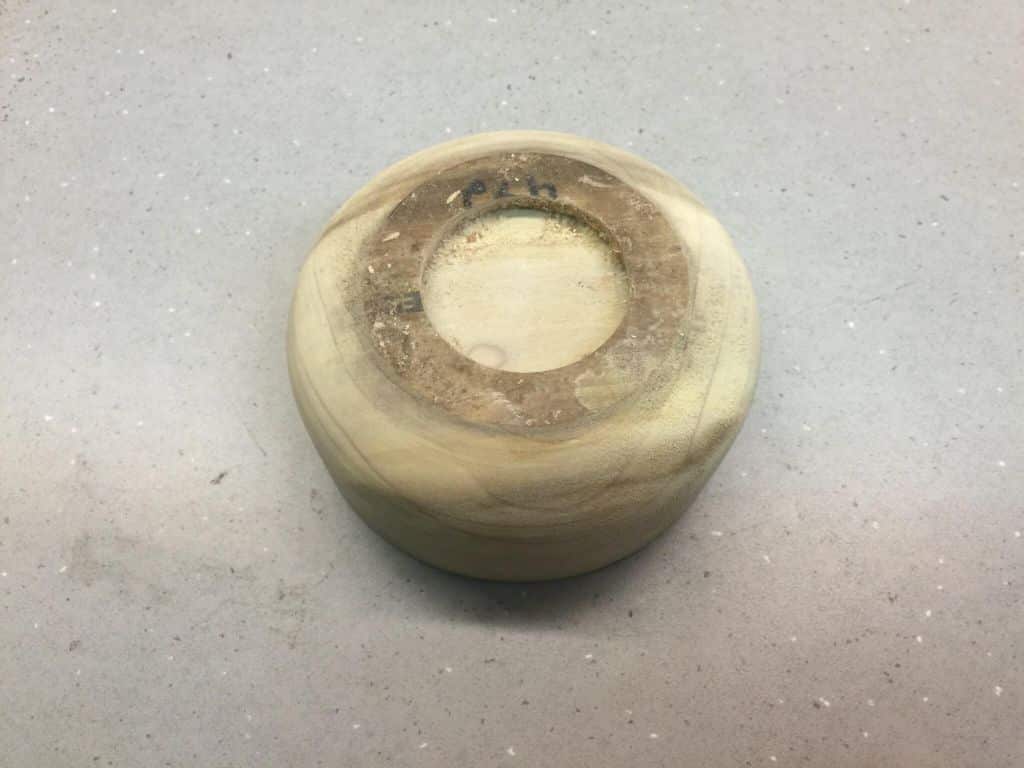
I was lucky in that while the blanks had moved the divot for the chuck was still perfectly workable and I didn’t have to try to true that up, a process I have read about and am not eager to attempt personally.
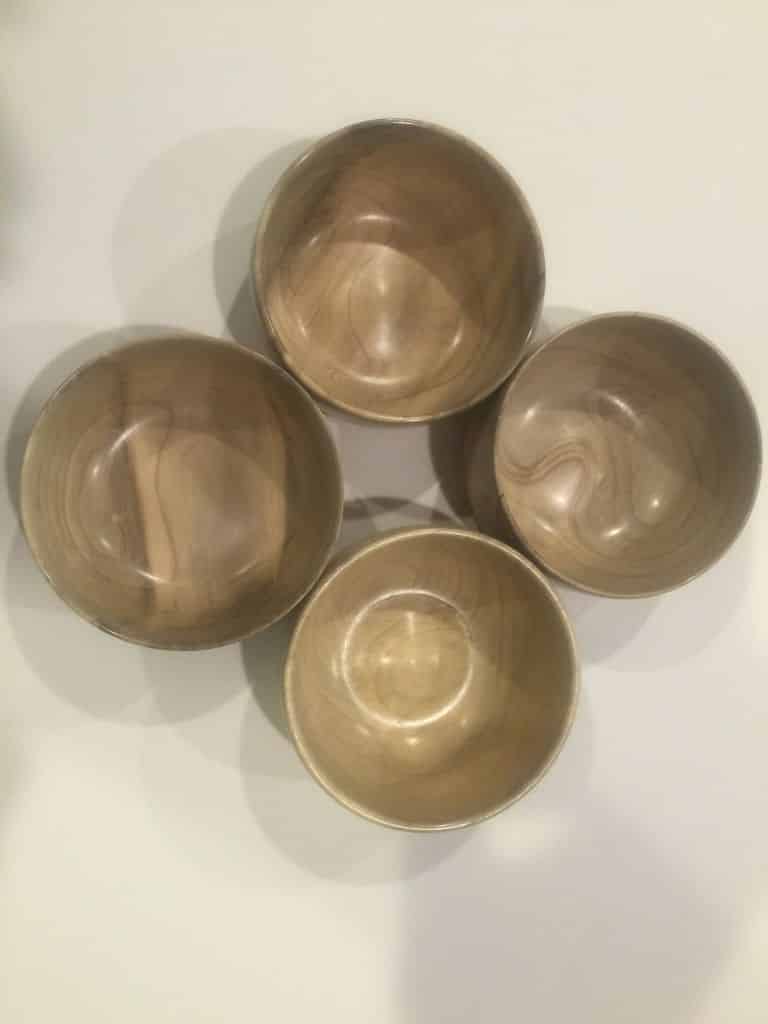
Four Finished Cucumbertree Bowls Overhead
I chucked the pieces up and reshaped to true round and then finished the interior hollowing. While the wood is inherently soft, it still does cut a great deal easier when wet, without question. As the bulk of the work had been done, the finishing cuts were quick work, the piece sanded fairly easily, and finished nicely. To clean up the foot, I reversed the piece into a Cole Jaws set and cleaned it up as usual.

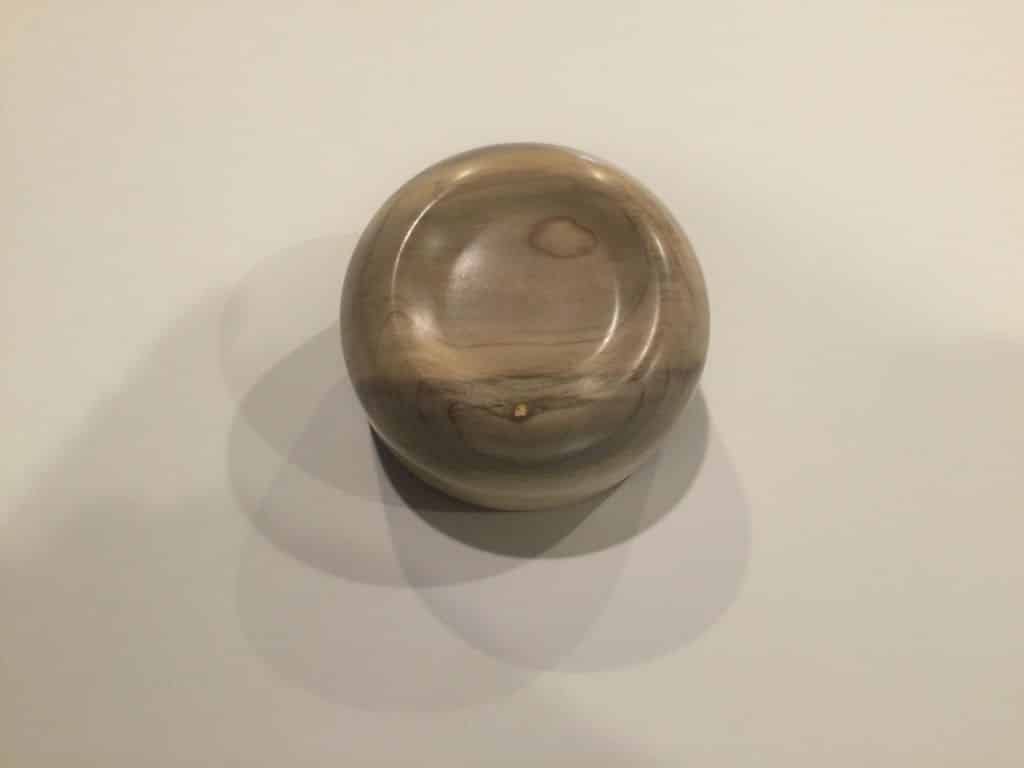
Cucumbertree Finished Interior
While the process was easy it still felt a bit backward to me as I usually finish the bottom, including finish sanding, before reversing and hollowing out the center. Of course that isn’t done once the piece has been rough turned in this way, but the change to the flow was not a significant issue for me. I think I got lucky with my choice of wood to try this experiment with and while it went well I am still hesitant to attempt it with a larger and more expensive piece of material. I may remain a dry wood turner for a while to come until I gain greater confidence in my ability to re-mount and re-work bowls that may well have warped over time. Only the future can tell so let’s all stay tuned right here to find out.
Cucumbertree Finished Exterior