Introduction and Rationale
In a previous post, I wrote about many of the general characteristics of working with Corian as a pen making material. That post came about as a result of a project in which I decided to make a batch of 36 pens using Corian blanks and Slimline pen kits from two vendors: Woodcraft and Craft Supply USA. The kits were essentially identical, although there was an extremely slight difference in the length of the brass tubes. This difference had no effect in the assembly of the pens however as the blanks were mixed by accident although I had kept the blanks for each manufacturer separate initially. So goes one of the risks of a shared shop space. My motive in making this batch of pens was simply to use the kits. I had purchased them years before and as I had the kits and I had the Corian I went with it. I don’t have any more Slimline pen kits but I still have a great deal of Corian, so mission partially accomplished. In what will be a series of 9 consecutive posts, I intend to discuss in detail each discrete step in the process of making this batch of Corian pens. I hope you enjoy this in-depth look at the pen making process in general, and the use of Corian as a material in specific.
Assembly Instructions
Now that all the blanks are turned, polished, racked up and ready to assemble, it is tempting to think that the hard part is all over and that nothing could possibly go wrong at this point. You couldn’t be more wrong. Failure can occur at ANY stage of the pen making process if you get careless, lose patience, or become overly confident. Always pay close attention to your work and when it comes to assembly, READ AND UNDERSTAND THE INSTRUCTIONS. Every pen kit comes with instructions for assembly as well as blank cutting length and bore size. These are important and even if you have made a certain type of pen dozens of time before, refresh your memory anyway.
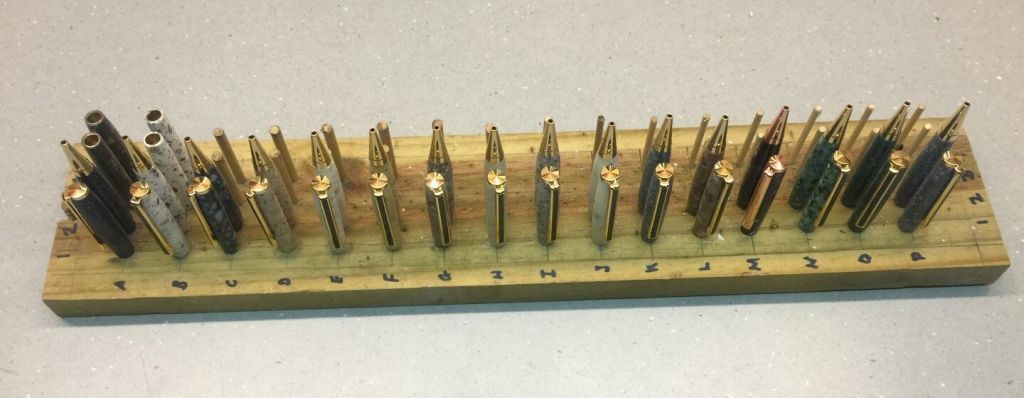
Prepare the Kit Components
Pen kits come in small bags, usually, with all the parts inside. Sometimes, there are additional small bags inside the outer bag, an environmental nightmare as these are almost always plastic bags. The idea, I suspect, is to protect the fine finish on the pieces like the nib and the clip from banging about against the tougher parts like the twist mechanism. To make life simpler for myself when I am assembling a large number of pens at one time, I remove all the parts from all the kits and sort them into small plastic containers in the order in which I will use them to assemble the pens. This makes the process faster for me and I am less likely to lose small pieces.

Sorted Pen Kit Parts
Because the pen parts have highly polished finishes, I always wear a pair of thin non-latex gloves, just like ones I wear when gluing the tubes in place, to keep my fingerprints off the finished product.
Specialty Parts – Optional
Any pen kit will come with all the standard components for that particular style of pen. Sometimes, these components can be quite elaborate and extremely expensive if you have opted for very high-end fountain pen kits or fine and rare metal finishes such as rhodium. However, even with simple kits such as the Slimline version, you can upgrade and customize your pen for special customers, family or friends through the use of pen clips that reflect hobbies, professions, or interests. Some examples can be found here and also here. These clips can represent hunting, fishing, bowling, faith, medical, music, golf, basketball, patriotism, and more. They are available from vendors who sell the pen kits and they will only fit specific pen kits. They often feature fine metal finishes such as 24K gold, in the case of those pictured here. It is also sometimes an option to upgrade the center band of the pen, provided the pen kit you are using has a center band. These usually feature special patterns and/or upgraded metallic finishes.
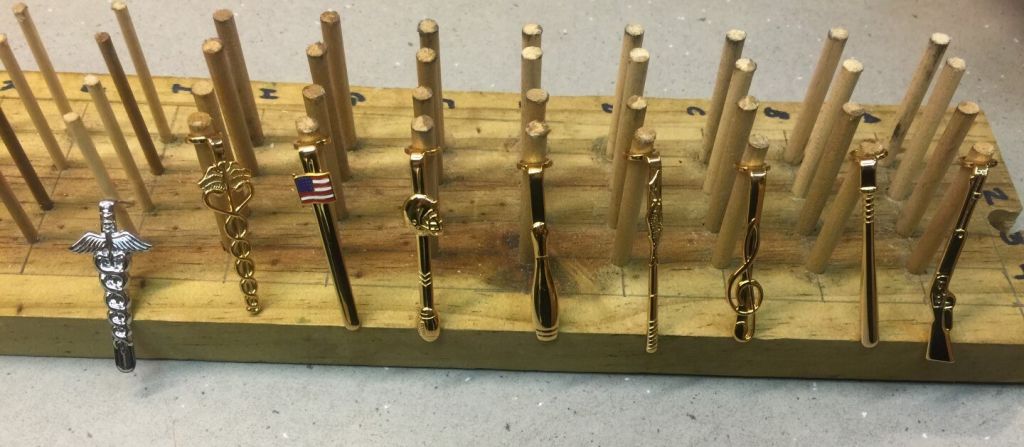
Specialty Clips for Slimline Pens – Left to Right – Medical (2), Patriotism, Football, Bowling, Fishing, Music, Baseball, and Hunting
Assembly Tools
Pen parts are press-fit and the fit, by necessity, is tight. You will not be able to press these parts together with your hands alone. You can use most any vise or clamp that you might have available if you use extreme care to not damage the parts and to have them lined up exactly correctly before applying pressure. However, I have relied upon a specially designed tool for pen assembly, a pen press, practically since I first started making pens.
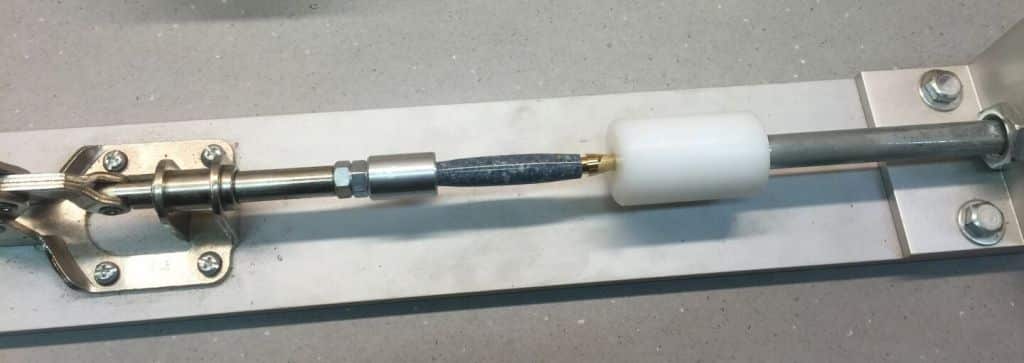
Pen Press In Use
Such a press provides excellent results, is easy to use, and breaks down for easy storage.
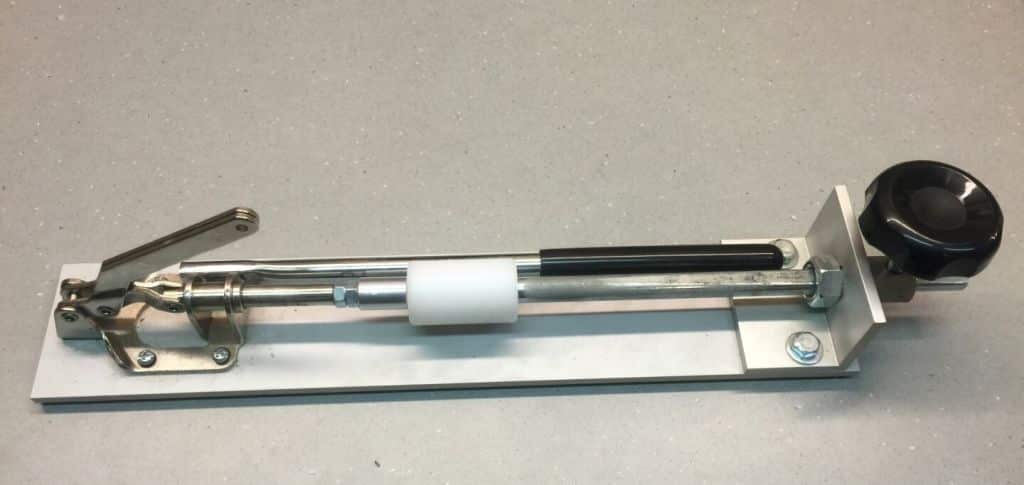
Pen Press Broken Down for Storage
The press is adjustable to accommodate any pen kit. I highly recommend one to anyone who intends to make custom pens, regardless of the material or pen kit used. The exact press I use is no longer available, but a similar item is viewable here.
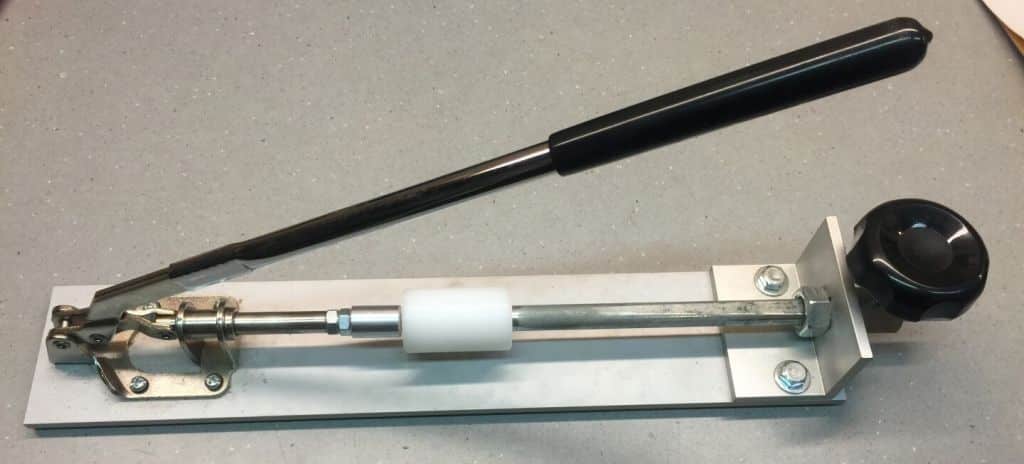
Pen Press Assembled for Use
Order of Operations
Again, I must stress the importance of following instructions! The order in which you press the pen parts together can make the absolute difference between success and failure. I speak from experience. For example, if the instructions are specific that you should press the pen nib in first, then press the twist mechanism that will extend the ink cartridge tip, then do it that way. Your pen will fail otherwise!
The Twist Mechanism Adjustment
When assembling the Slimline kit in particular, most all of the pieces are simple press fits, you press the part in as far as it will go and you are done. The striking exception to this simplicity is the twist mechanism. This is the largest piece in the kit and its placement is sensitive and critical. The mechanism must be inserted in the direction indicated and it should not be pressed too far or the pen tip will never completely retract.
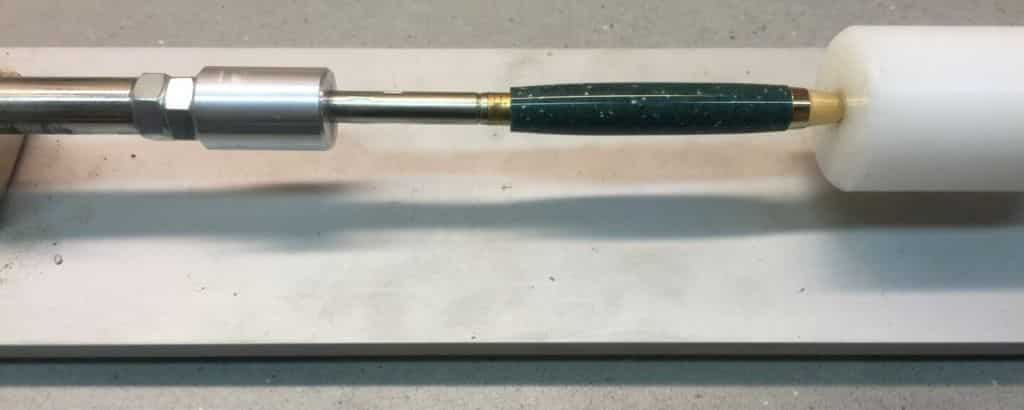
Twist Mechanism Placement – Starting Position
If it isn’t pressed just far enough, then the pen tip does not extend far enough for easy writing.
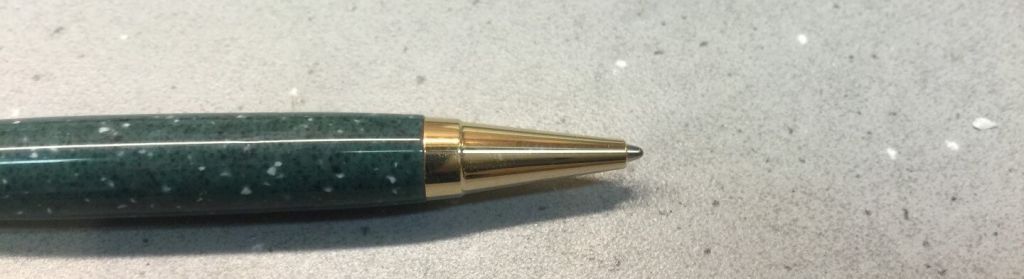
Twist Mechanism Too Shallow
I always start with the mechanism inserted just up to the indented line, which is there for the purpose.
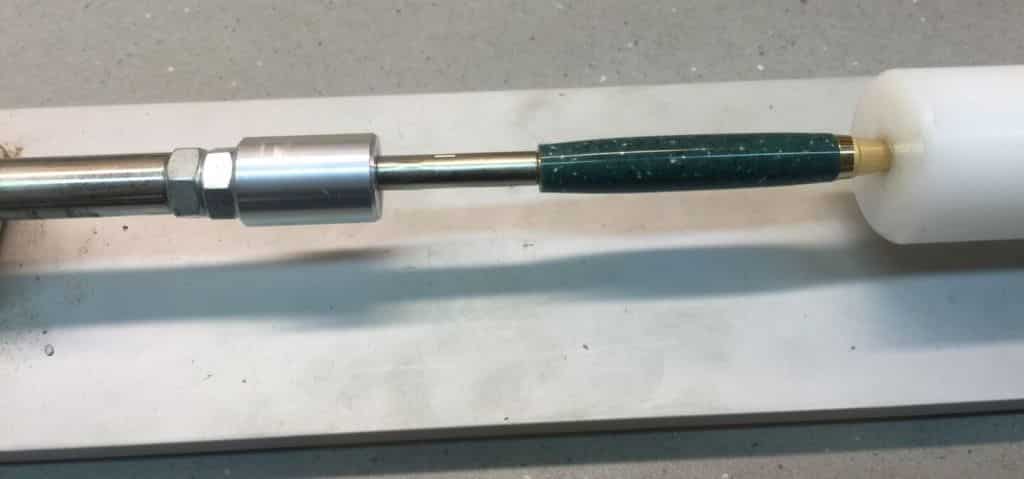
Twist Mechanism Almost Far Enough
I then insert the ink cartridge and test the twist. If it doesn’t extend quite far enough, I press just a bit farther, testing each press until I have just the right depth and extension.
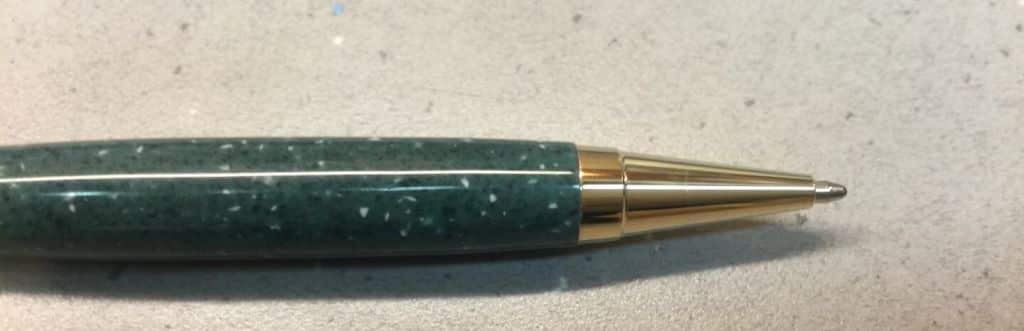
Twist Mechanism Placed Correctly
NEVER press too far because you cannot remove the twist mechanism once it is inserted and this is one step in assembly where you can destroy the pen you have worked so hard to make perfect.
Blank Placement
When I make a two piece pen, like a Slimline, I make the top piece essentially the same size from top to bottom but the bottom piece, which will be gripped between the fingers, I tend to taper so that it is larger in the middle, to provide a better grip and feel, while slimming the ends to match the size of the component parts that will be pressed in to fit. I have to make sure that I am selecting the correct blank for each end. Also, if you are using wood with obvious grain, make sure you have correctly oriented the pieces so that the grain matches up across the center ring band.
Two Piece Assembly Process
When I am constructing two piece pen kits, I make each end separately. I do this because I set the pen press to accommodate all the pen nib tips first, then I press fit all of those parts, one at a time, for each pen. Then I press fit the clips and caps. Then I press fit the twist mechanism. By using the press setting for a specific part for all the pens, one after another, a great deal of time is saved over moving the press to three different positions over and over for each pen. I have borrowed a bit of wisdom from the assembly line process to make assembling a large number of pens faster and easier in the end. I store the partially assembled pieces on my home-made pen parts rack.
Half Assembled Pens
Upgrade the Ink
While every pen kit comes with an ink insert, you can count on the ink insert being of low quality. It will function, certainly, just be sure to remember to remove the tiny plastic tip that protects the ink nib while it is in the kit, otherwise you pen won’t write. I like to purchase, from office supply stores or specialty pen retailers, refills that fit the particular kit I am making. The type of refill needed will be listed on the instructions or on the product detail page when you purchase the pen. I store the extra pen refills just in case I need them, but in the end I toss them. I don’t feel good giving a pen as a gift or selling it if I know that the ink isn’t a decent quality. The writing quality is one thing that everyone notices about a pen and good quality ink affects that immensely. No matter how pretty your pen is, if it doesn’t write easily and clearly with a good ink flow you won’t care to use it.
Push the Piece Together and Done
The Slimline pen is designed to be pulled apart at the center band for ink replacement. Once I press the twist mechanism into place, I screw in the ink cartridge, test the nip position by twisting, and then slide the two completed pieces together. The pen is finished and ready to be passed along to its new happy owner. We will take a look at the finished product in the final post in this series.